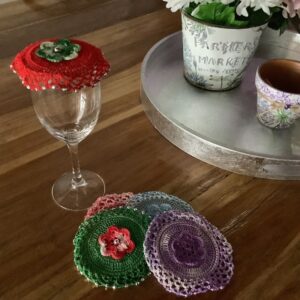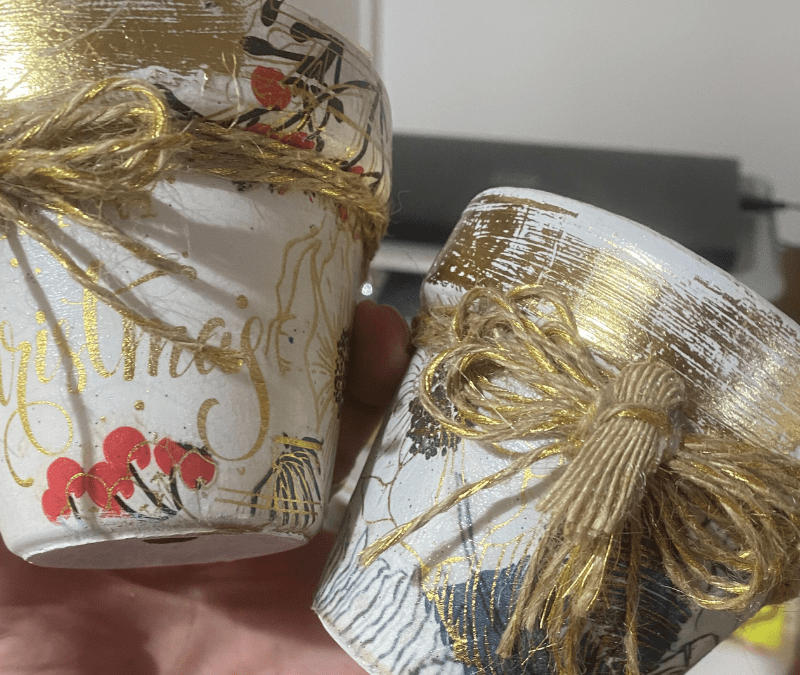
I’ve been doing decoupage projects for many years, and have used all sorts of paper, glues and embellishments as part of that process. While most people think of decoupage as something you do on small items or think that it’s a bit ‘old lady’, you’d be surprised at the range of use. It’s a great way of enhancing not only new furniture, but also giving a new lease of life to old scrubby bits that you may have at home! I’m starting on some new upcycles, so stay tuned for updates in the blog.
I regularly use decoupage techniques on furniture, cards, jewellery, artworks, candle pots, plant pots, ceramics, timber pieces, and more. You can even decoupage fabrics and large structures (I’m currently working out how I decoupage my floors at home). I will add my own decoupage intel, particularly for use with other papers (eg serviettes, and origami papers). It goes without saying that I love everything paper – you can be amazingly creative with it!
Following is the info provided by Mint by Michelle that is designed for their papers and tissues which I’m proud to stock. This info may relate more to larger furniture pieces, but the process is very similar for all decoupage work. You can see the beautiful papers in stock now here.
There are two methods of application that best suit the Mint by Michelle Decoupage Papers. Please be sure to read through the following instructions and decide which method is best for your project before getting started. You may also choose to view our ‘how to’ tutorials at https://mintbymichelle.com/blogs/news
Method 1
Recommended to achieve an aged, crinkled, authentic look (for a less wrinkled look mist the back of the paper with water)
You will need: Image Medium, Glad/Cling Wrap, Decoupage Paper
- Start by adding Image Medium to small areas of your intended surface.
- Place your decoupage paper on to the glued surface area and then rub down using a handful of scrunched Glad/Cling Wrap. The gentle friction between the two surfaces helps to smooth the paper down.
- Repeat this process by adding small amounts of glue, followed by the decoupage image and smoothing using the handful of Glad Wrap.
- Once the decoupage paper has been applied to the full surface area of your piece, you can finish in whichever method you choose.
- Paint it in further to extend the image &/or cover your image with as many coats of Image Medium or Lacquer as you wish.
- To flatten crinkles and add a further aged look we recommend sanding with a very fine sand paper between your finishing coats.
Method 2
Recommended to achieve a smooth, flat finish
You will need: Image Medium, Parchment/Baking Paper, Warm Iron, Decoupage Paper
- Coat your project surface with a thick coat of Image Medium or Modge Podge glue and let it dry. Repeat this step twice.
- Place your decoupage paper on top of the dry glued surface and place the parchment paper on top of the decoupage paper.
- Starting in the middle of the image, apply a warm iron on medium heat to the parchment paper and continue to iron until the image is secured to your project surface.
Finishing options for Method 2
- No Finish – If your piece is going to be a low traffic surface, then no finish or top coat is necessary
- Oil Based Finish – If you are finishing with an oil base, you can use as many coats as desired.
- Water Based Finish – If you are finishing with a water based top coat we recommend spraying your decoupage image with 3 very fine coats of lacquer, being sure to leave it to dry in between coats. Once all 3 coats of lacquer have dried, apply your water based finish
Please note, we recommend using Mint by Michelle Decoupage Papers with Chalk Paint.
Need more? Application tutorials relating specifically to Mint by Michelle decoupage papers are available online at mintbymichelle.com/blogs/news.