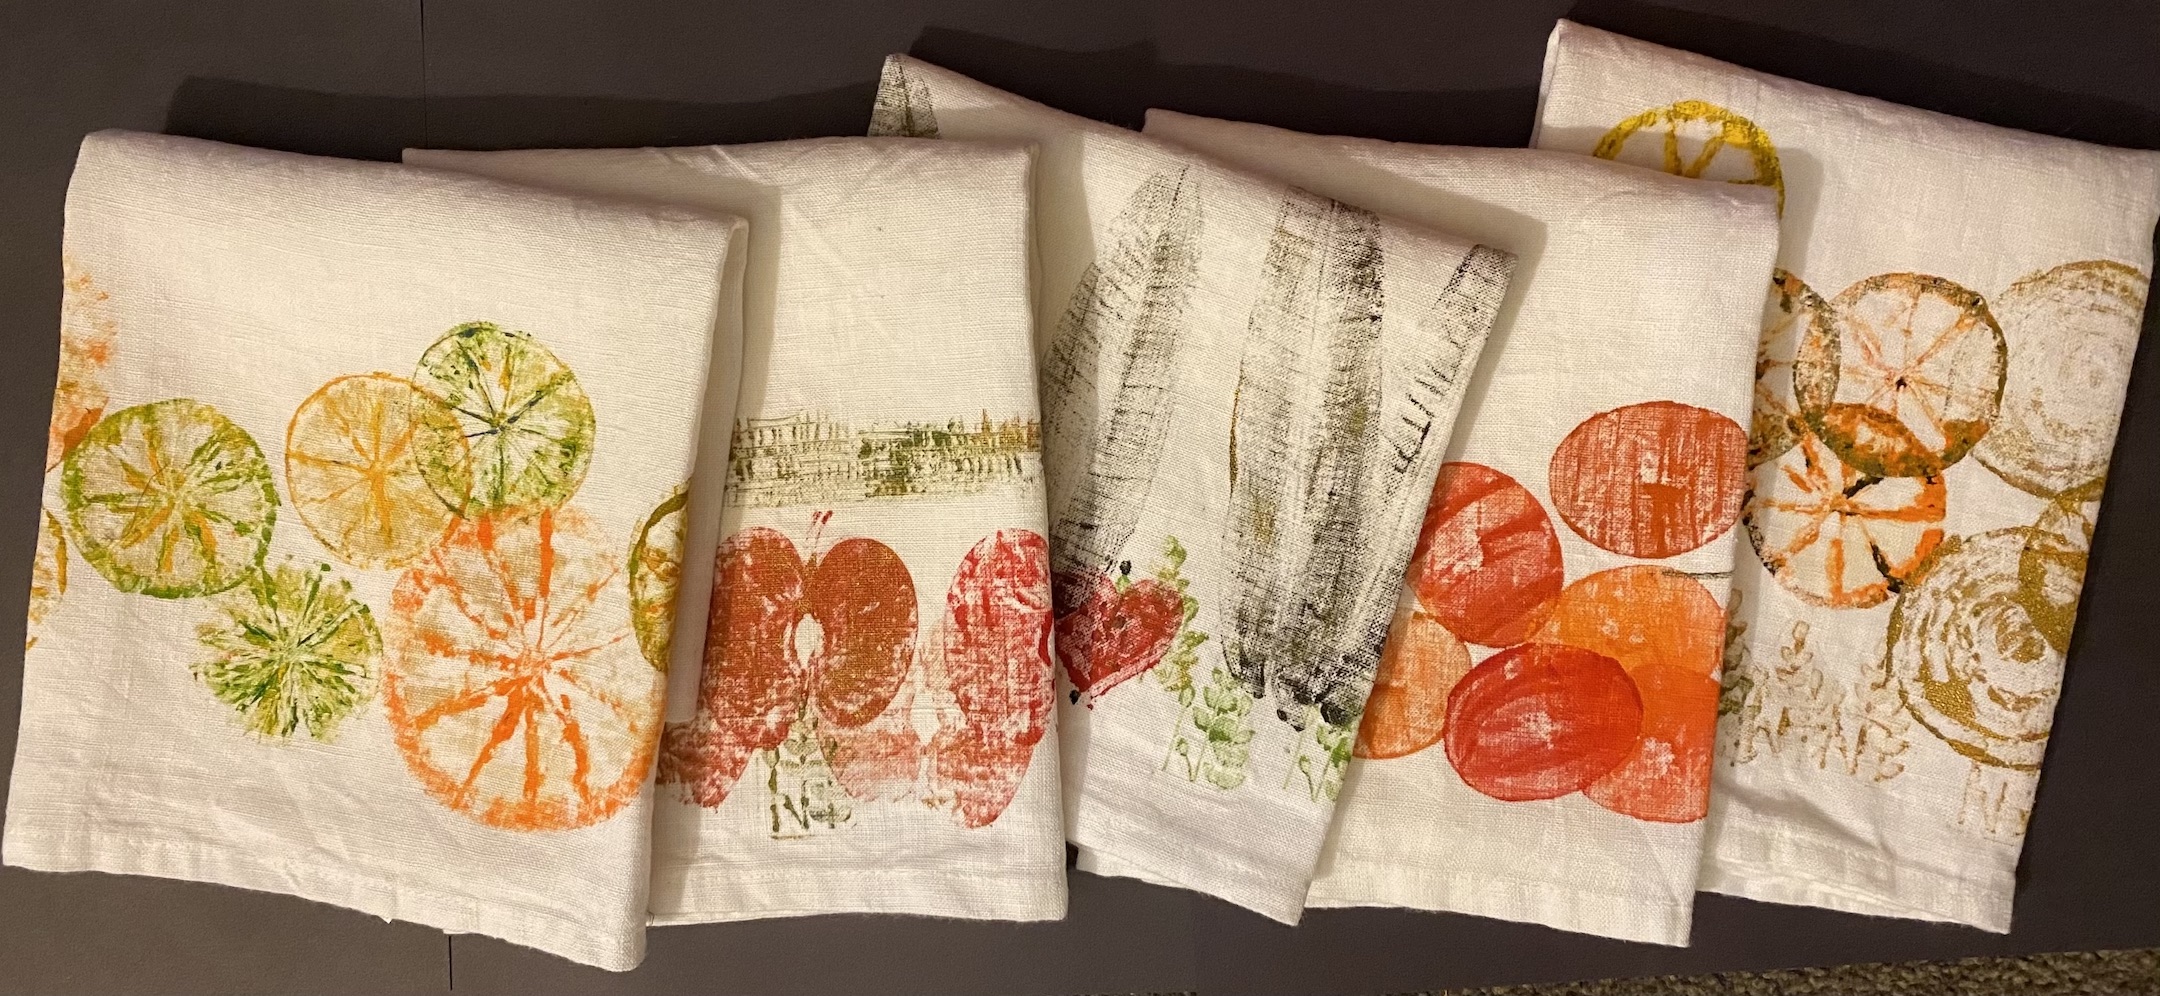
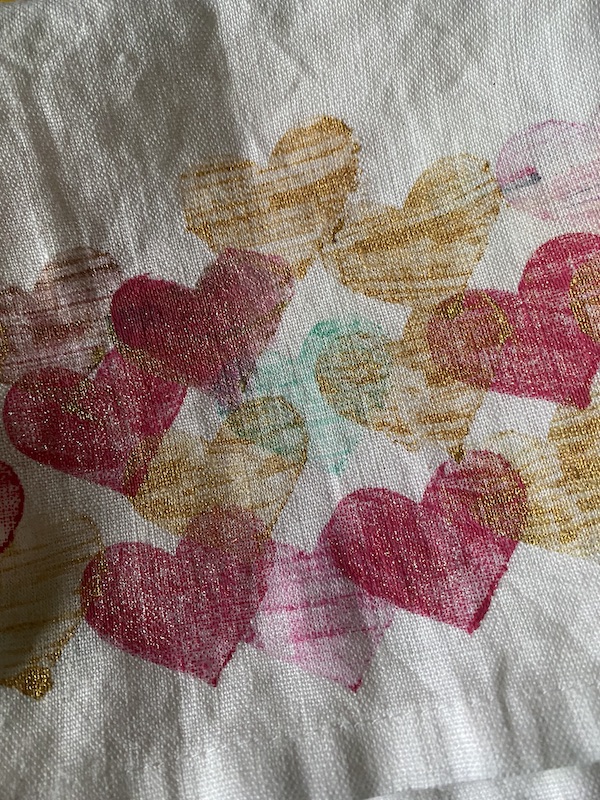
Welcome! You’ve made an excellent choice with this DIY kit – printing your own tea towels is super easy, and even if you think you aren’t creative at all, I can pretty much guarantee that you’ll love making these and seeing your own (often accidental) designs come to life!!
But first, please be sure to read the FULL instructions before you get started.
This a fabulous and creative craft to explore, it’s not suitable for young children, say, under 5 years old, but with appropriate supervision, it really can be a great activity for all ages.
This kit has all the things you need to make 2 pure linen tea towels with your own design. The paints go a long long way, so you can create so many more by buying additional ‘blank’ tea towels. Great for gifts, or to colour match in your kitchen.
Skill level: Easy peasy
Time needed: about an hour for the design/print process but endless time experimenting; 24 hours to cure; and in an ideal world, 30 days before you use/wash them. Once that paint is set, nothing gets it off!!

What’s in the box:
- 2 x pure linen, pre-washed tea towels. 40cm x 60cm with loop.
- 4 x acrylic paints (red, yellow, black, gold)
- 1 x paintbrush
- 2 x pairs of gloves
- 1 x baby wipes. The best thing to clean sticky hands!
- Paint palette for mixing any special colours
- 2m baking paper
- 1 x rubbish bag
You’ll also need:
- Fruit/vege to print with – I typically use citrus, and have also used potatoes, onions, and even leaves, flowers, feathers, and other interesting objects that I can find around the house .. think cogs, the back of a spoon, forks, pretty much anything!!
- As an alternative to using objects, you could literally do a print of your hand – wouldn’t that be a fun way to get messy with the kids?! Or if you’re great at freehand drawing, you could also paint a picture on your tea towel.
- An iron to heat set your design, however this isn’t 100% necessary.
Optional:
- Gold or colour acrylic paint pen/s. Completely optional but you can use these to highlight (rather than using a gold paint and a paintbrush). I love the Krylon leafing metallic pens.
From the kitchen
- A plastic sheet. I’ve used the cheap plastic painting drop sheets, and even old shower curtains (not the icky bits though). What you want is something to protect your work surface.
- Paper towel is also useful to have close by.

Let’s get started …
Your work area
You need to make sure you have a clear work space in an area that is well ventilated and relatively free of dust and debris. The paints are good quality, but standard, acrylic paints and generally don’t smell, but if you’re sensitive at all, please wear a mask.
Surfaces
You’re going to be printing directly onto your tea towels, but there is no reason why you couldn’t use any other item – for example, an apron – to print on to provided it’s a natural fibre. I’ve not tested on anything other than linen or cotton which absorb the paint which then becomes impervious to washing (trust me, I’ve ‘ruined’ jeans as well as ‘test’ tea towels and that paint is absolutely colour fast!) I’ve not ever tested on synthetic fabrics, but would imagine that lightweight fabrics would go hard with paint on them, and I’m not sure about their colour fastness.
You need a solid surface to do the printing. If it’s uneven or wobbly, you may get unexpected results. That said, the unexpected results can sometimes be the best thing!!
Setting out your materials
Make sure you have your paints, a glass of water (to clean your paintbrush), paper towel or sponge handy.
To prep your fruit, generally you’d cut each piece in half, squeeze a bit of juice out, and let sit for 10-15 mins if possible. I’ve used really old lemons and limes – you know, the ones that look so dried up that you think you can’t get any juice out of them? They’re actually perfect for this. The juicier the fruit doesn’t make for a great print and in fact the acidic juice can change the colours as you print.
Onions cut in half make great ‘stamps’ and if you remember making potato stamps when you were at school, these work really well here too!
You probably only need one or two stamps per tea towel – but you can make the patterns as busy or simple as you want.
Where to print?
I’m pretty free form when it comes to making these and generally only print a border or one section of the fabric. If you do an all over print with a lot of paint, it may not be that great for use afterwards. Lots of paint can make the fabric quite stiff but if it’s for decorative purposes only, it can work!!
Let’s get creative and print your tea towels
Set up
TIP: You might want to do a rough drawing on scrap paper first – this will help you gather your supplies.
TIP: Make sure you keep the plastic protector or baking paper on your work surface. You don’t want to be scraping paint off your kitchen bench, no matter what it’s made of.
Layering Colors
Layering colours is for you to experiment with. Add one colour and then add another. The trick is to not have a lot of paint in one layer and let it sit for a few minutes before adding another.
Wait for the paint to dry!
Now you literally have to wait! Put your tea towels where they won’t be disturbed, and leave them alone so the paint can fully dry. It might *look* dry, but if you don’t leave it alone for minimum of a couple of hours (but preferably 24 hours), you won’t get as good a result.
Heat setting your tea towels
After the paint is dry on your tea towel, cover with an old towel, several layers of baking paper, or an old tea towel, and with a hot iron (NO steam) iron the tea towel firmly, moving over the painted sections as you go. Aim here is to not iron the paint directly – you don’t want to scorch the fabric – keep the iron moving!! Do this for about 5 minutes (no more than 10 minutes) and hey presto, you’ve heat set your tea towel.
A bit more waiting!
And just for good measure leave them alone until they’re completely cold – I often do these late in the afternoon and when I’m done, leave them overnight and they’ll be all good to go in the morning.
Voila and well done!
And to finish up?
Send me a photo or tag @madeinlismore on Fb or Insta – I would love to see your work!
You can read the care instructions for your tea towels here.

